Documentation Website

ClefinCode Chat Documentation

This guide explains how to use ClefinCode Chat across Web and Mobile. It covers the core chat experience, collaboration tools, and multi-platform messaging integrations.

Quickstart

Start here if you are new. These steps get you signed in and ready to chat.

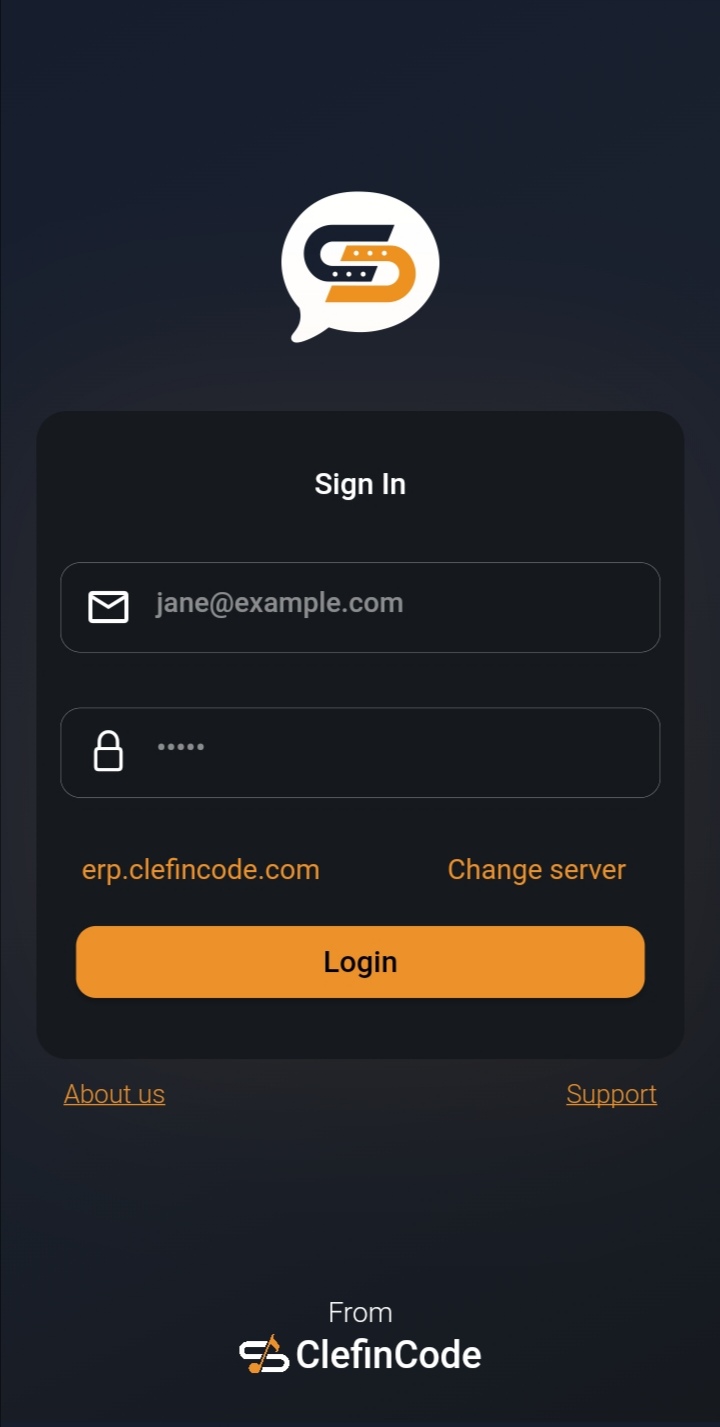
Log in with your Frappe account

Use your email and password, then confirm the correct server URL. You can switch servers if needed.

  • Enter your email and password.
  • Confirm the server domain (e.g., erp.clefincode.com).
  • Use Change server when you need to switch environments.
Mobile login screen
Mobile — Login

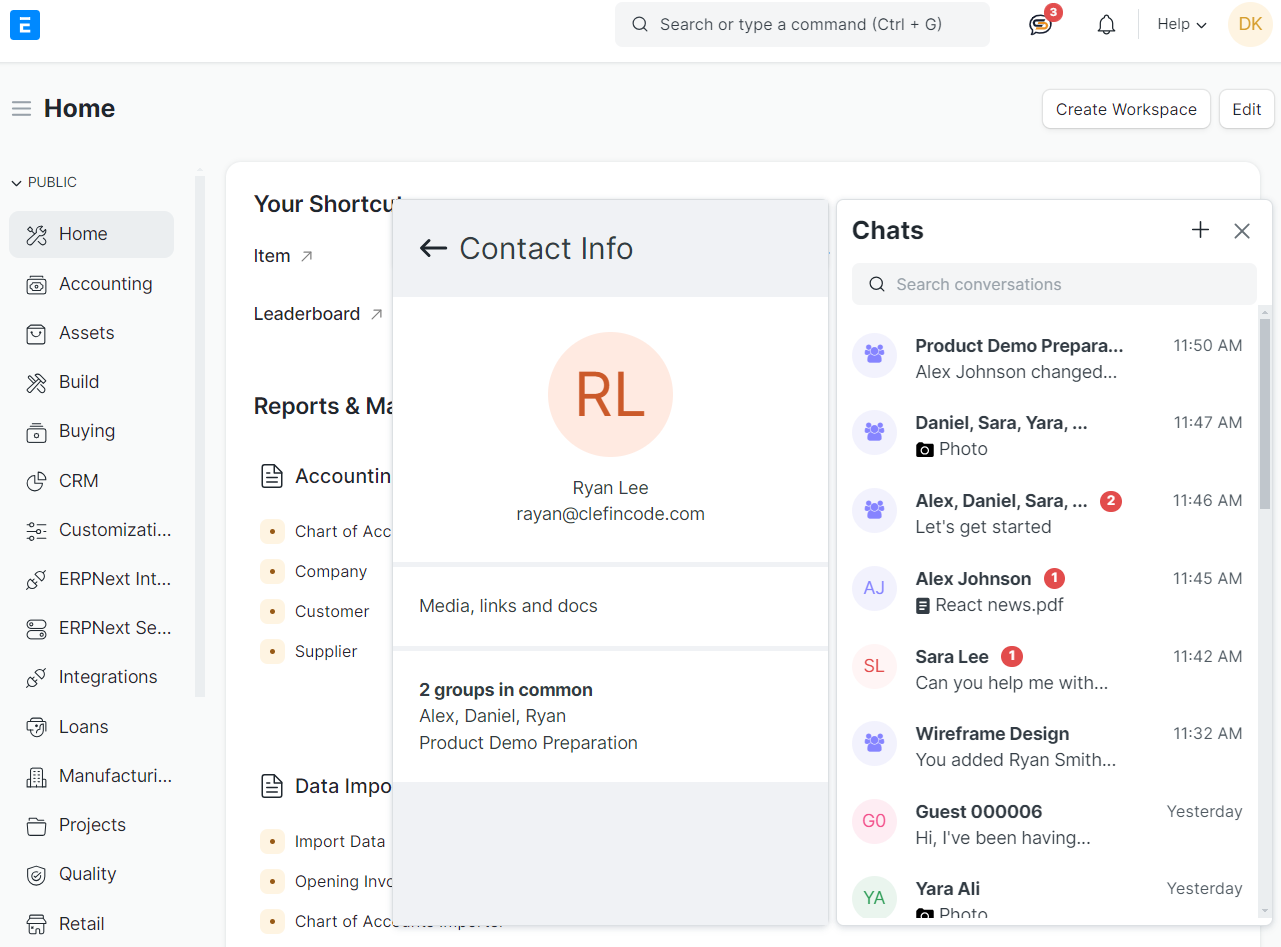
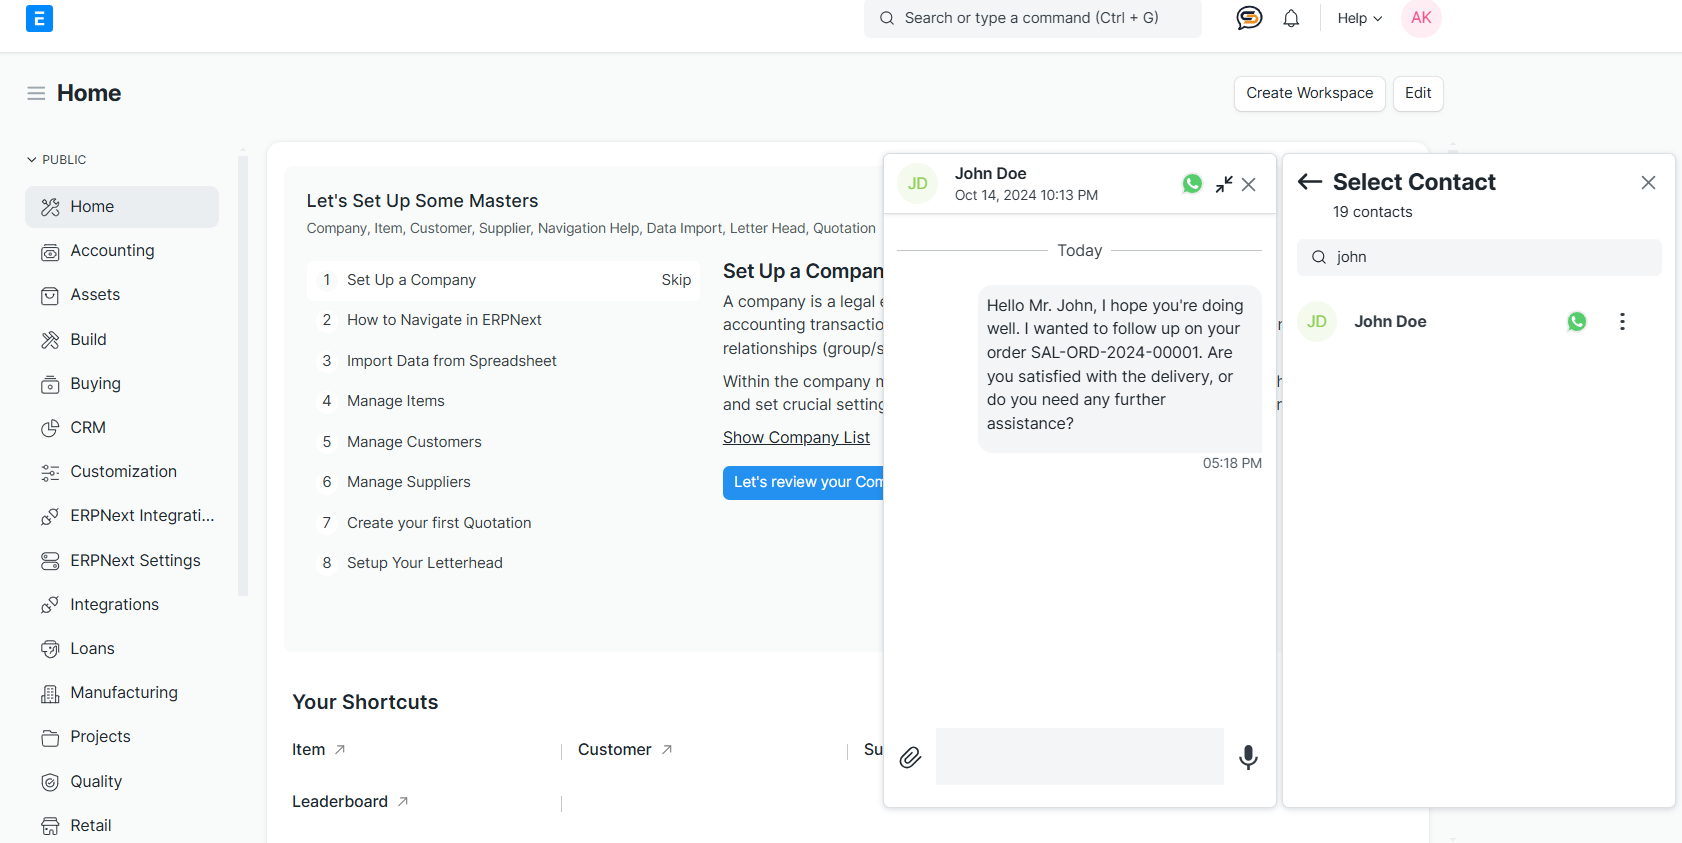
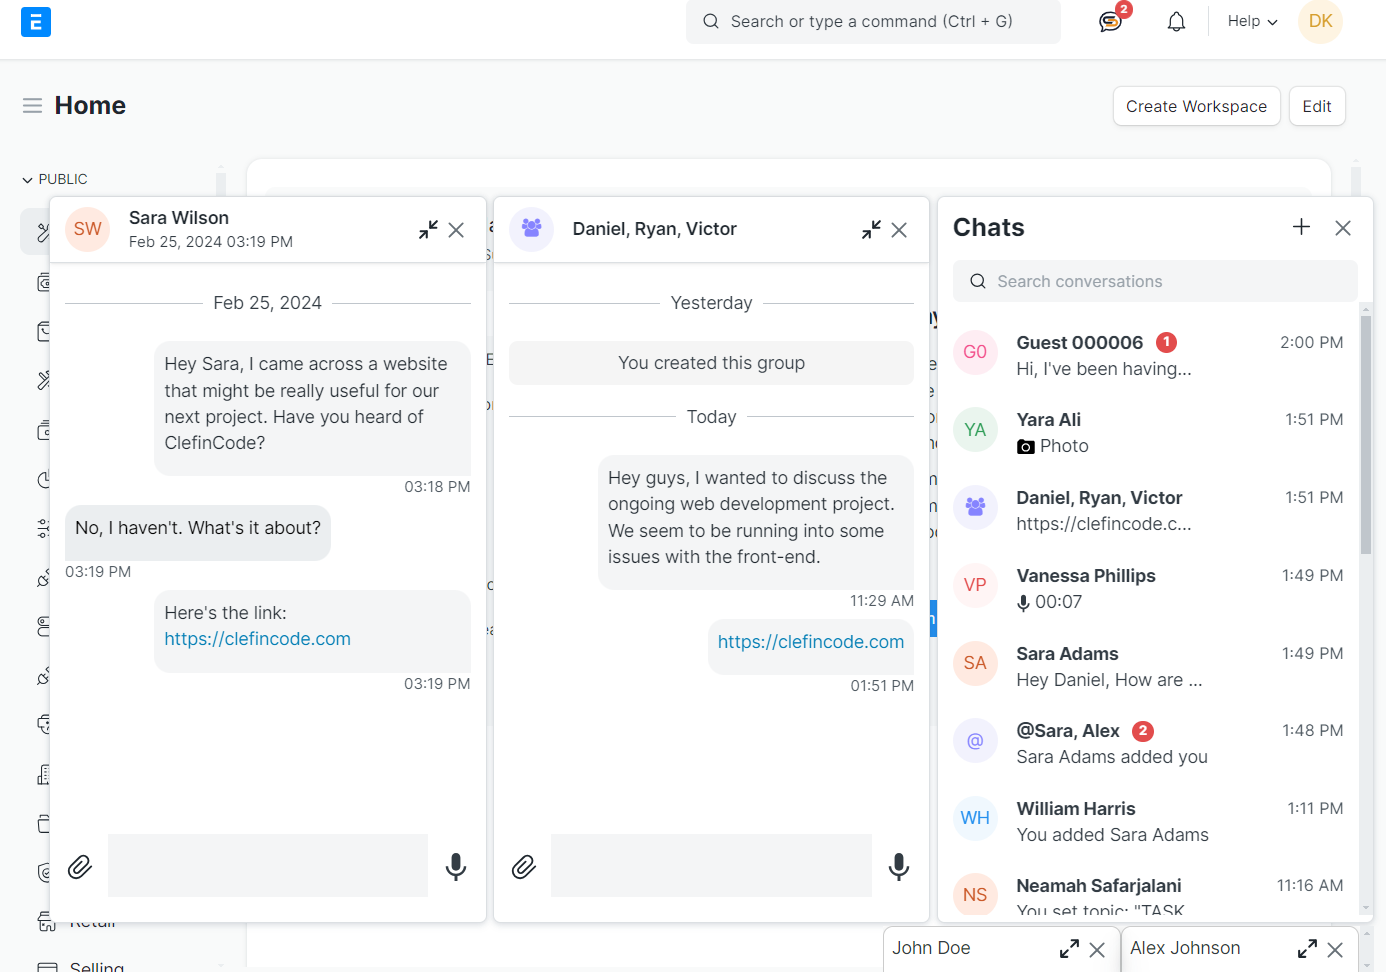
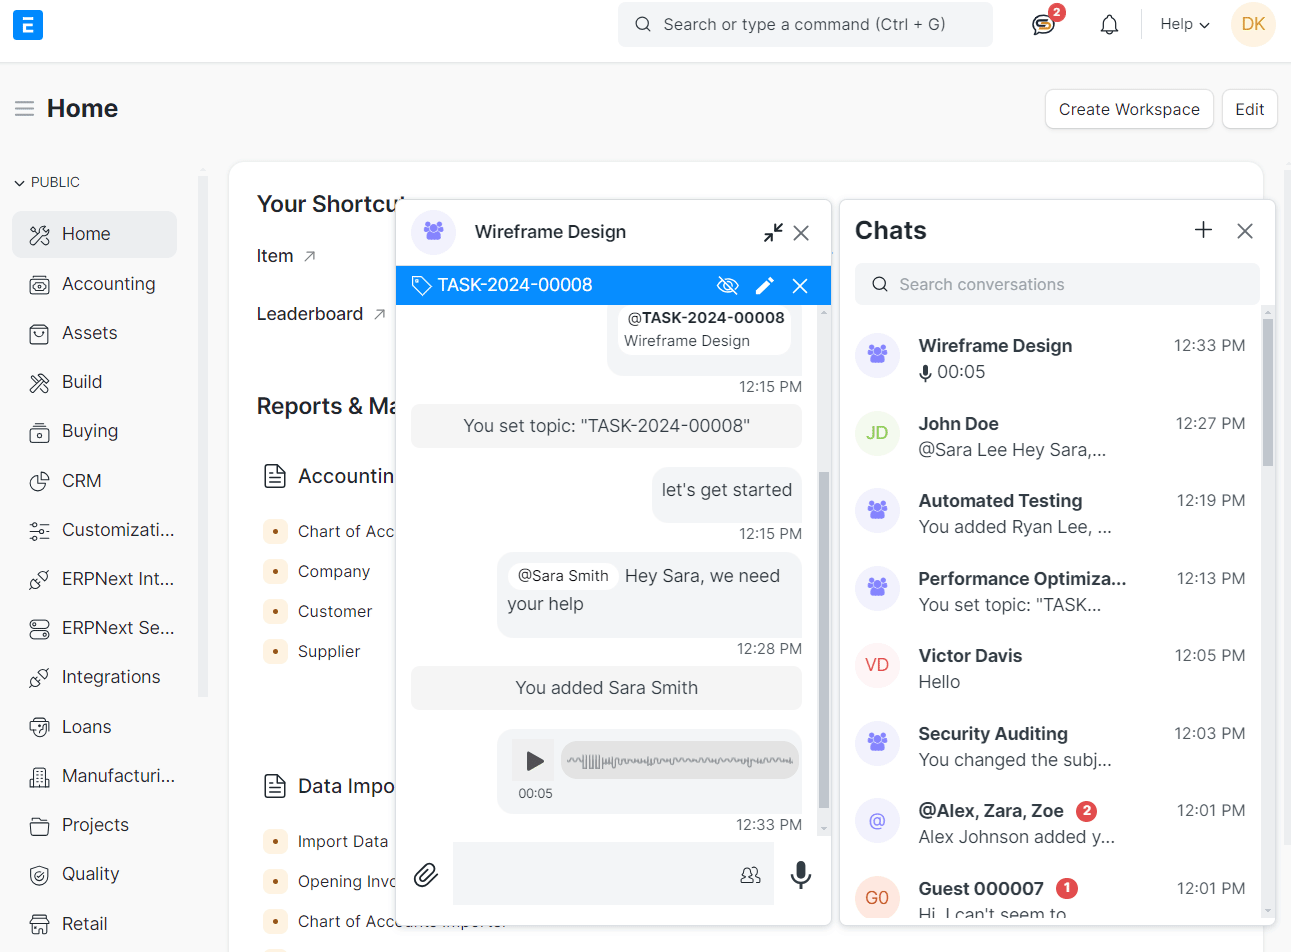
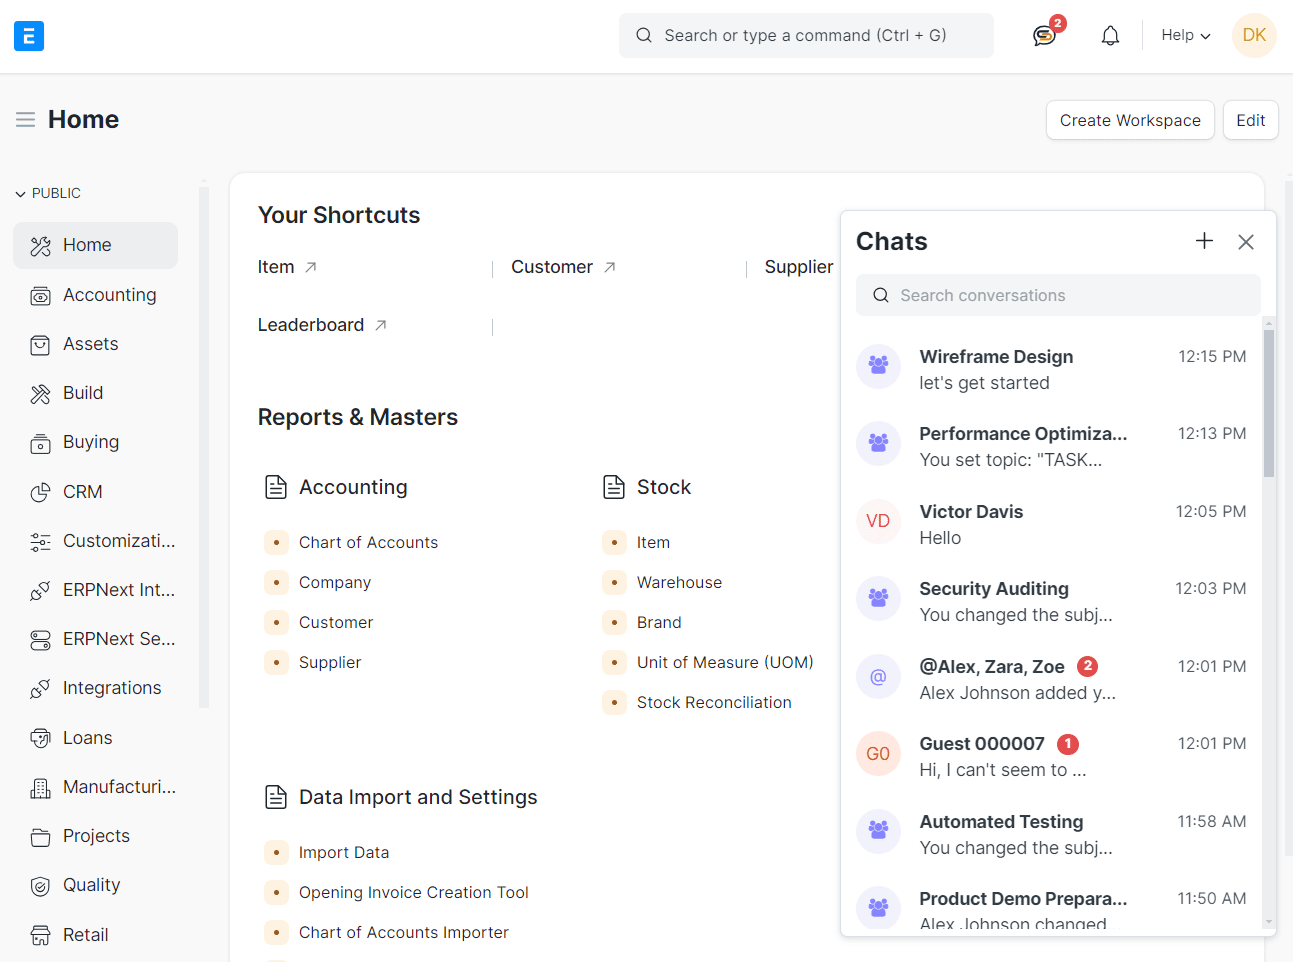
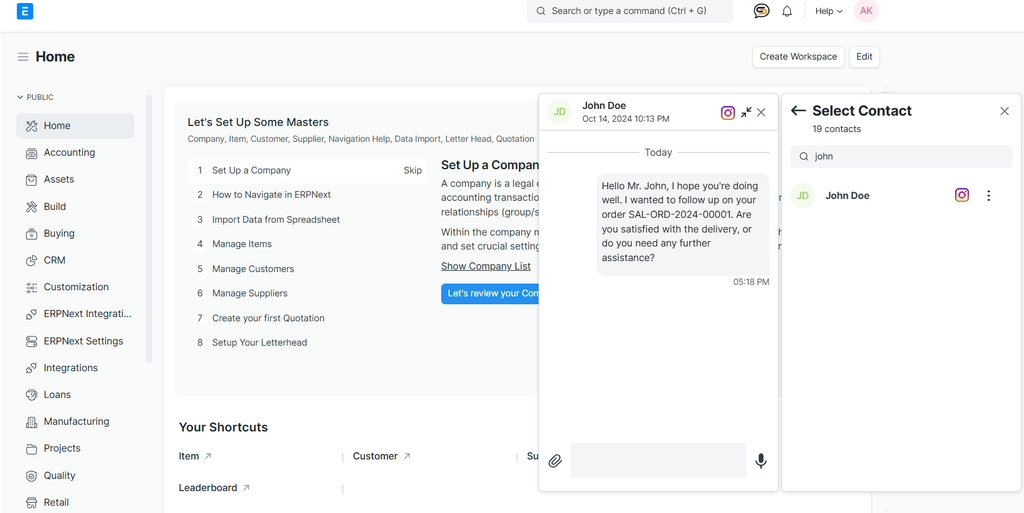
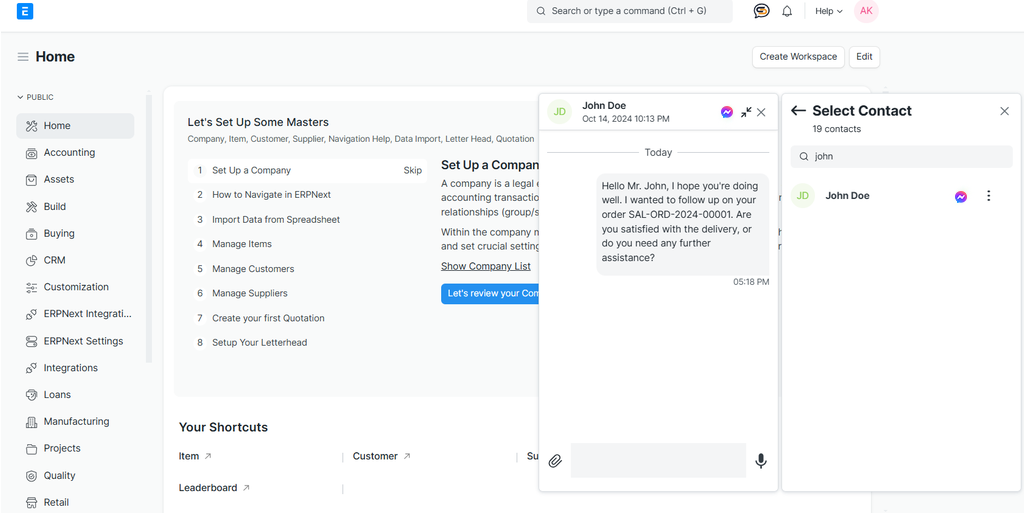
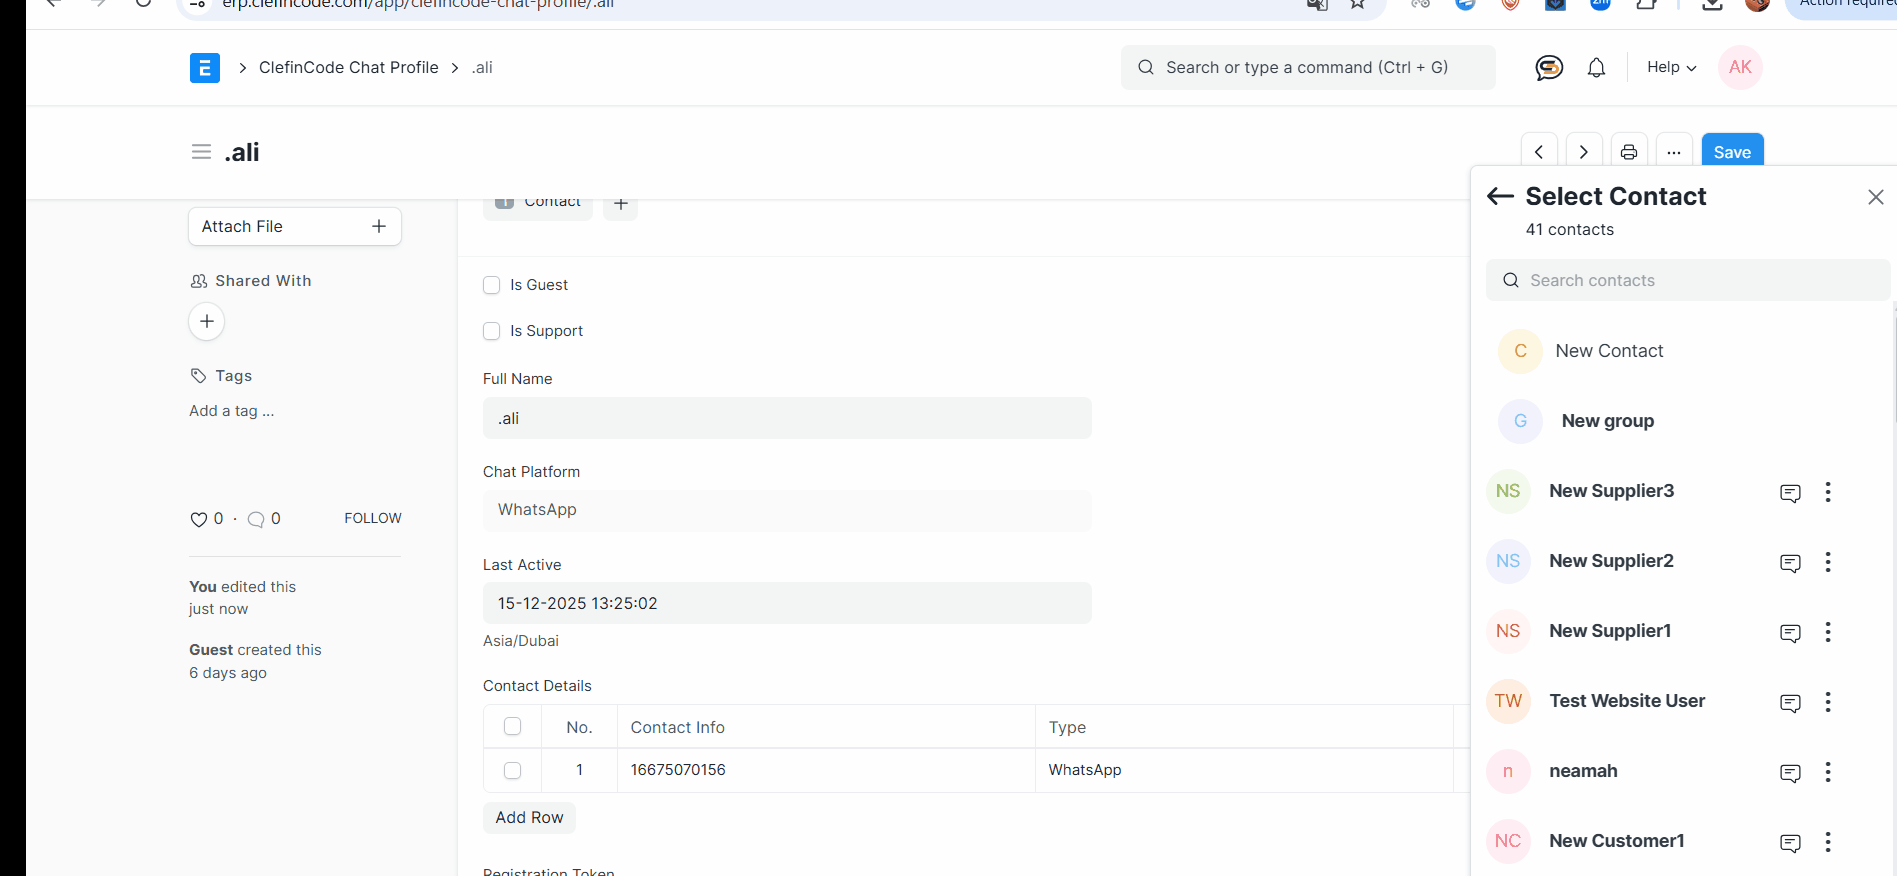
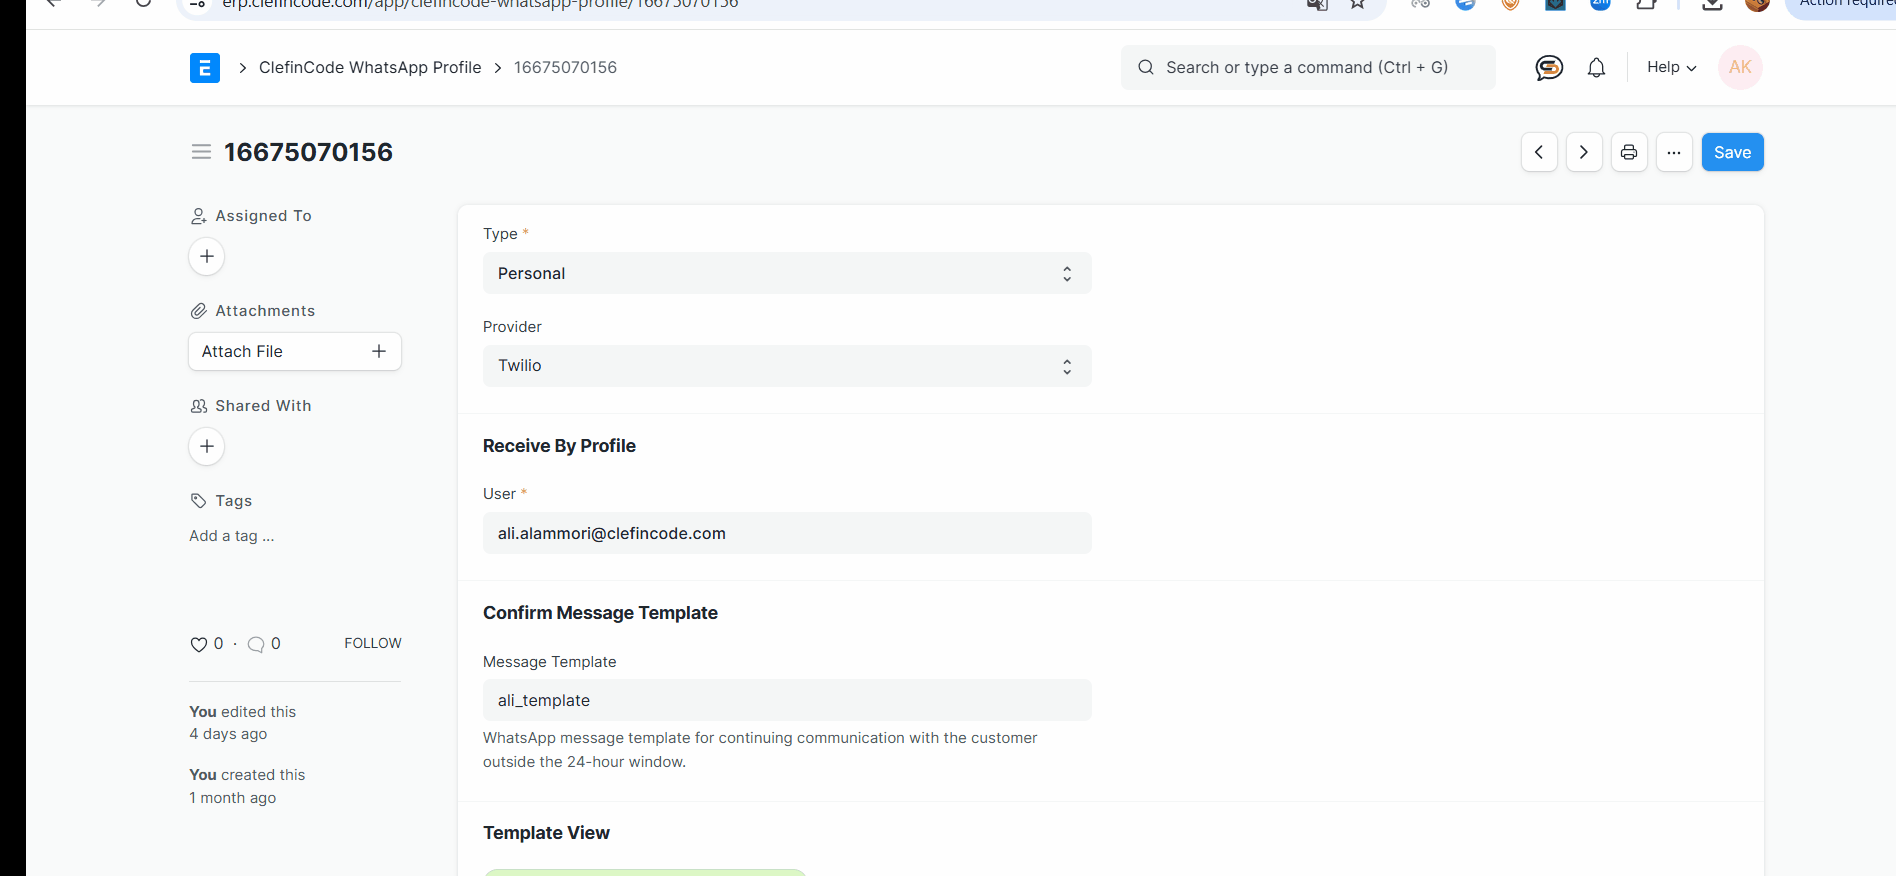
ClefinCode Chat runs inside your ERPNext/Frappe web environment. After you log in to the system, open the chat panel from the interface and begin messaging.

Note
Web access depends on your ERPNext permissions and enabled chat configuration.

Get help from Support

Use the in-app help conversation to contact ClefinCode Support for guidance and troubleshooting.

  • Open the Support chat from the app.
  • Send your question or describe the issue.
  • Continue the conversation until resolved.
Mobile support chat example
Mobile — Support chat

On web, support communication typically happens through your configured channels and internal team workflows. If support is enabled as a contact/channel, you can message it from the chat panel.

Core chat experience

Learn how to browse conversations, start chats, and manage multiple threads efficiently.

Chat overview

The overview shows your active and recent conversations with previews, timestamps, and unread indicators, making it easy to jump back into ongoing work.

  • Use the sidebar/panel to browse conversations.
  • Search conversations to find a chat quickly.
  • Unread counters help you prioritize responses.
Web chat panel with conversation list
Web — Chats panel
  • View recent chats and platform icons (when applicable).
  • Use the search bar to filter conversations.
  • Create a new conversation from the + menu.
Mobile chat overview list
Mobile — Chat overview

Start a direct chat

Initiate a one-on-one conversation with any available contact. Direct chats are best for focused coordination.

  • Open the chat panel and click + (or “new chat”).
  • Search and select a contact.
  • Send your first message to start the thread.
Web select contact and chat window
Web — Start direct chat
Tip
Keep the chat open while navigating ERPNext pages to respond without context switching.
  • From the chat overview, tap + to create a conversation.
  • Pick a contact from the searchable list.
  • Send a message to begin.

(Mobile direct chat uses the same contact selection experience as group creation; you can also choose to create a new group.)

Open multiple conversations (Web)

On web, you can keep multiple chat windows open in parallel to handle several discussions at once.

Best practice
Use one window for the primary task discussion and another for quick coordination with stakeholders.
Web multiple chat windows
Web — Multiple chat windows

Groups & collaboration

Create group chats, add contributors, mention users, and keep discussions structured.

Start a group chat

Group chats are designed for team collaboration. Select multiple contacts, then manage the group details as needed.

  1. Tap + in the chat overview.
  2. Select multiple contacts from the list.
  3. Confirm to create the group.
Mobile create group screen
Mobile — Create group
  1. Open the chat panel and start a new conversation.
  2. Select multiple users to form a group.
  3. Use group tools to manage subject and participants.
Note
Some web demos use animated GIFs for group creation and tools. If you host them on your domain, ensure correct MIME types for .gif.

Manage contributors

Add or remove contributors to ensure the right team members are included in the discussion.

  • Open the group details screen.
  • Add contributors as needed, or remove them from the list.
  • Use “Exit group” when you no longer need access.
Mobile group details screen
Mobile — Group details
Mobile group members and contributors list
Mobile — Members & contributors
Mobile remove contributor action
Mobile — Remove contributor
  • Use group tools to add contributors.
  • New contributors gain access to the group conversation.
  • Keep the group aligned by removing participants when scope changes.
Web add contributor (GIF)
Web — Add contributor

User mentions (Web)

Mentions help direct attention in group chats—use them to notify a specific teammate within a conversation.

Web mention / contributor flow (GIF)
Web — Mention / collaboration flow

Group tools (Web)

Manage group settings without leaving the conversation—update the subject, set a topic, and add contributors.

  • Change the group subject to match the workstream.
  • Set a topic linked to a document (task, project, etc.).
  • Add contributors as the team expands.
Web group tools (GIF)
Web — Group tools

Messaging & sharing

Send documents and media, record voice clips, and keep message history accessible to the team.

Share media and documents

Enhance conversations by sharing PDFs, images, camera captures, videos, and more—directly in the chat thread.

  • Tap the attachment options to choose Document, Camera, Gallery, or Video.
  • Confirm to send—files appear inside the conversation.
Mobile sharing documents and media
Mobile — Share documents/media
  • Drag & drop files into the chat window, or upload from the available sources.
  • Share links and files without interrupting your ERPNext workflow.
Tip
If you frequently share the same file types, standardize naming and keep them in a shared location for quick retrieval.

Voice clips

Record and send short audio messages for faster, more expressive communication—especially useful when typing is inconvenient.

  • Use the voice control in the chat input area.
  • Record, review, then send the clip into the thread.
Web send voice clip (GIF)
Web — Voice clips

Voice messages are supported from the chat composer, alongside other sharing options.

Context & ERP linking

Keep discussions tied to real work by linking chats to ERPNext doctypes (Task, Issue, Project, etc.).

Link chats to doctypes

Attach a chat topic to a document so the entire conversation remains aligned with a specific record.

  1. Open the chat and access the topic controls.
  2. Select the related doctype (for example: Task, Issue, or Project).
  3. Save—your chat will now reflect the linked context.
Web set topic linked to doctype (GIF)
Web — Set topic (doctype)
  1. Choose a doctype to associate with the chat subject.
  2. After linking, the chat displays the associated doctype for quick access.
Mobile set topic (GIF)
Mobile — Set topic
Why this matters
Linking keeps decisions, clarifications, and updates in one place—reducing back-and-forth and improving auditability.

Dark theme

Use light or dark mode for a more comfortable viewing experience based on your environment and preference.

Recommendation
Use dark theme for extended usage in low-light environments to reduce glare.

Multi-platform messaging

ClefinCode Chat supports messaging integrations across multiple platforms, with platform tags for easy identification.

In-chat multi-platform experience

Conversations can represent channels such as WhatsApp, Telegram, Instagram, and Facebook Messenger. Messages remain consistent with platform status and media support.

WhatsApp chat inside the app
WhatsApp
Telegram chat inside the app
Telegram
Instagram chat inside the app
Instagram
Messenger chat inside the app
Messenger

WhatsApp setup (Web)

Configure WhatsApp credentials and profiles to receive and send messages through your system.

1) Enter credentials

  • Provide the Access Token.
  • Provide the Webhook Verify Token for secure validation.
WhatsApp integration credentials
WhatsApp — Credentials

2) Create a WhatsApp profile

  • Enter WhatsApp Number, Phone Number ID, and Business Account ID.
  • Select a Type (Personal or Support).
Important tips
When entering the WhatsApp number, do not include 00 or +. Start directly with the country code (example: 971xxxxxxxxx).
WhatsApp profile setup
WhatsApp — Profile
WhatsApp template message created
WhatsApp — Template created
WhatsApp template list
WhatsApp — Templates

3) Configure the webhook in Meta

  1. Open your Meta Developer dashboard and select your app.
  2. Go to WhatsApp → Configuration.
  3. Set Callback URL using: https://YOUR_DOMAIN.com/api/method/clefincode_chat.webhook.handle
  4. Set Verify token to match your configured verify token.
  5. Click Verify and Save.
Meta webhook configuration
Meta — Webhook configuration

Instagram setup (Web)

Configure Instagram credentials and create a profile to route messages to the correct system user.

1) Enter credentials

Instagram integration credentials
Instagram — Credentials

2) Create an Instagram profile

  • Enter Instagram Profile ID and Instagram App ID.
  • Select Type (Personal or Business).
Important tip
Enter the username without the @ symbol (example: example_username).
Instagram profile setup
Instagram — Profile
Instagram chat badge example
Web — Instagram chat badge

Telegram setup (Web)

Configure credentials and create a Telegram profile that maps incoming messages to the appropriate user.

Telegram profile setup
Telegram — Profile
Telegram chat badge example
Web — Telegram chat badge
Operational tips
Ensure the Profile ID is accurate; assign the correct system user (email) to receive messages through that profile.

Facebook Messenger setup (Web)

Configure Messenger integration and profiles to enable inbound/outbound messaging via Facebook Page IDs.

Messenger integration credentials
Messenger — Credentials
Messenger profile setup
Messenger — Profile
Messenger chat badge example
Web — Messenger chat badge
Important tips
Ensure the Messenger Profile ID matches the correct Facebook Page ID, and confirm required app permissions for messaging.

Twilio WhatsApp Integration

Connect WhatsApp through Twilio to manage inbound and outbound messages with structured channel labeling.

WhatsApp setup (Twilio)

Configure Twilio credentials to enable sending and receiving WhatsApp messages through the system.

1) Enter Twilio credentials

  • Provide your Twilio Account SID.
  • Provide your Auth Token for secure authentication.
Twilio integration credentials
Twilio — Credentials

2) Create a Twilio WhatsApp profile

  • Select the WhatsApp-enabled number from Twilio.
  • Select the ProviderTwilio
  • Assign a Type (Personal or Support) and save.
Important tips
A template will be created automatically, and its name and preview will be displayed as shown in the figure.
Twilio WhatsApp sender
Twilio — WhatsApp sender

3) Test WhatsApp messaging

  1. Send a test WhatsApp message from the system.
  2. Confirm the message is delivered successfully.
  3. Check Twilio logs for errors if delivery fails.

Test WhatsApp messaging

send and receive messages through your system.

1) Test sent Messages

  • Receive text message.
  • Receive Imgae message.
  • Receive Voice note message.
test message
WhatsApp — messages

1) Test Receive Messages

  • Receive text message.
  • Receive Imgae message.
  • Receive Voice note message.
  • Receive location message.
  • Receive Contact message.
test message
WhatsApp — messages

Twilio Template

Create a message template, fill in all required details, and submit it to finalize the setup

Create Twilio Template

Configure Twilio credentials to enable sending and receiving WhatsApp messages through the system.

Create twilio/text Template

  • enter Friendly Name for template.
  • Select Template Type twilio/text
  • Select Category
  • Select Language
  • write message in Body
  • save it and submit and wait for approve
create text template
Important tips
When creating a content template in Twilio intended for channels that require prior approval (like WhatsApp), the name must adhere to specific rules set by Meta (WhatsApp's parent company) to ensure approval.  The essential conditions are:
  • Allowed Characters: The name can only contain lowercase alphanumeric characters (a-z, 0-9).
  • Allowed Separator: The only allowed separator is the underscore (_).
  • No Spaces: Spaces are strictly forbidden within the template name.
  • No Special Characters: Most other special characters (e.g., !, @, #, $, %, -, ., etc.) are not allowed.
  • Meaningful Names: It is recommended to use a name that helps the reviewers (at WhatsApp) understand the message's purpose (e.g., order_delivery instead of template_1).
  • Uniqueness: The template name must be unique for your account if the content of the template is also unique. 
  • Create twilio/media Template

    • enter Friendly Name for template.
    • Select Template Type twilio/media
    • Select Category
    • Select Language
    • write message in Body
    • add url image or media file in Media URL
    • save it and submit and wait for approve
    create text template
    create text template

    Create twilio/quick-replay Template

    • enter Friendly Name for template.
    • Select Template Type quick-replay
    • write message in Body
    • add buttuon and value in actions table
    • save it and submit and wait for approve
    quick-replay Template
    quick-replay Template

    Create twilio/list-picker Template

    • enter Friendly Name for template.
    • Select Template Type list-picker
    • write message in Body
    • add list item in Items table
    • save it and submit and wait for approve
    list-picker Template
    list-picker Template

    Use Variable

      Twilio uses variables in its content templates to personalize messages,Variables are defined using a specific {{...}} syntax and are populated with dynamic data when the message is sent.

      can be sent using specific values from the associated DocType by filling in the table and then by using the variables table, the variable value can be linked to the field.

    list-picker Template
    list-picker Template
    Important tips
    Variables must be sequential ({{1}}, {{2}}, {{3}}) Variables should not be adjacent Variables should not start or end the message Must have enough text: (2x + 1) non-variable words per x variables Avoid too many variables in short messages

    add varible to media template

    • set base url of your site
    • select filed with attach file
    • add default value in table
    add varible to media templat
    add varible to media template

    add attach to template

    • To send the connected DocType print, use a Media Template and then add a variable as in the previous step.
    • It is not necessary to add a DocType field, but a default value must be added.
    • Check the Attach Document Print checkbox.
    • Select the Print Format.
    • Choose Language Format as English.
    • Begin typing for results and select Letter Head.
    add attach to template
    add attach to template

    test to sent template

    • Example of sending a template from the chat:
    • Open the Chat.
    • Type / and wait for the list of approved templates to appear.
    • Select one of the templates.
    • If the template is linked to a DocType, a list will appear to select the DocTypes.
    test to sent template
    test to sent template

    ClefinCode Notification

    This mechanism sends WhatsApp notifications automatically based on DocType events. When the configured event occurs

    Create clefincode Notification

    • Create a WhatsApp notification and link it to the required DocType.
    • Add a Custom Field to the DocType of type Link connected to Chat Profile.
    • Select the trigger event (such as On Save or On Submit).
    • Choose the message type: Template or Normal Message.
    • If Normal Message is selected, you can add variables dynamically from the DocType fields.
    • If Template is selected, only templates linked to the selected DocType will appear.
    • A preview of the message will be displayed automatically when a template is selected.
    • If the selected template supports document printing, Attach Print will be enabled automatically.
    • Configure the recipient using the selected Chat Profile.
    • Optionally attach the document as a PDF by selecting the required Print Format.
    • Save and enable the notification to activate automatic WhatsApp sending.
    Create clefincode Notification
    Create clefincode Notification

    ClefinCode Chat Template

    The Clefincode Chat Template page is used to create and manage reusable WhatsApp templates. Templates can include variables, optional document prints, and can be linked to specific DocTypes, similar to Twilio templates.

    Create Template

    • Open Clefincode Chat Template.
    • Enter the Template Name.
    • Select the Reference DocType (optional).
    • Write the Message.
    • If a DocType is selected, add variables similar to Twilio templates.
    • Save the template.
    Create ClefinCode Template
    Create ClefinCode Template

    Test Sending Template

    • Open a chat conversation.
    • Type / in the chat input.
    • Select the created template.
    • If linked to a DocType, choose the required document.
    Test ClefinCode Template
    Test ClefinCode Template

    Edit and Add Contacts

    Add and manage contacts directly from the chat interface, including multiple identifiers per contact.

    Manage Contacts

    • Click the Chat icon.
    • Select the + icon.
    • Choose Add Contact to create a new one.
    • Admins can edit contacts via Manage Contact.
    • Edit details using the popup window.
    • An error appears if the identifier already exists.
    Manage Contacts
    Manage Contacts

    ClefinCode Chat Profile

    • Create a Chat Profile and define its name.
    • Add multiple contacts and chat types.
    • Assign a System User.
    • Add identifiers such as WhatsApp, Telegram, Instagram, or Messenger.
    • The profile centralizes all user contact identifiers.
    Chat Profile
    Chat Profile

    ClefinCode WhatsApp Profile

    Personal messages are delivered directly to the selected user.

    For Support Profiles, when set to Receive By User, the selected user is automatically added to the conversation.

    Receiver Role distributes messages randomly among users with that role.

    To always include a specific user in all support chats, use User – Receive By User.

    WhatsApp Profile
    WhatsApp Profile